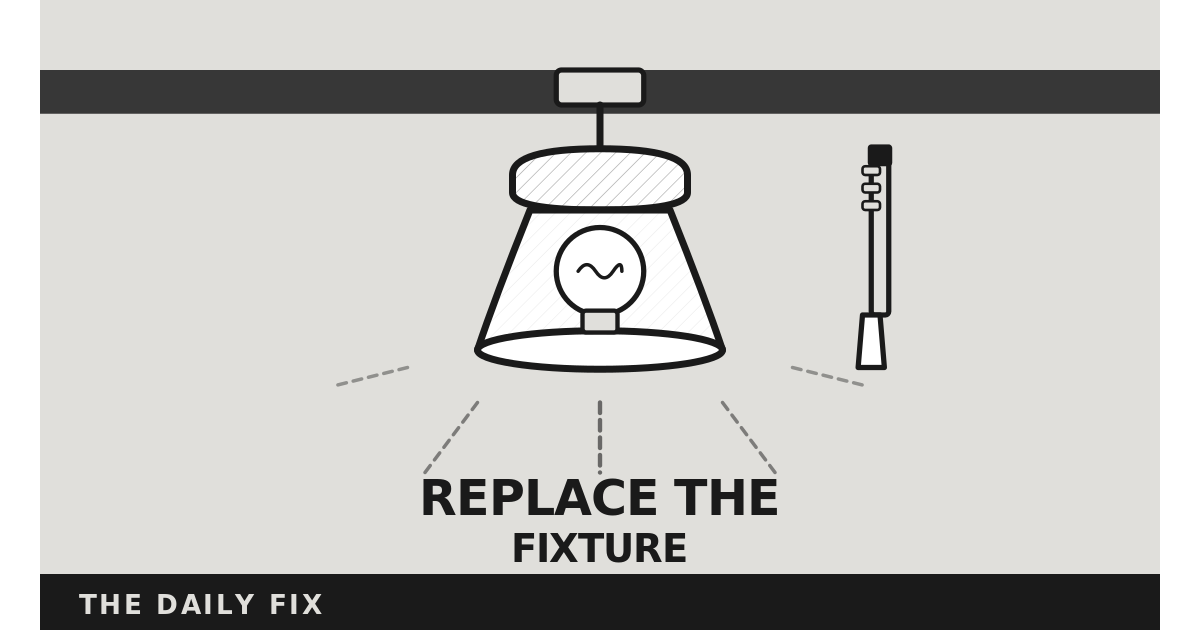
How to Replace a Light Fixture (Easier Than You Think)
Swapping a light fixture is one of the cheapest ways to change the feel of a room, and it’s more approachable than most people assume. Every fixture in every apartment is wired the same way: a black wire (hot), a white wire (neutral), and a bare copper or green wire (ground). You don’t need to understand electricity — you just need black to black, white to white, ground to ground. The one rule that makes this safe: always kill the power at the breaker before touching anything, not just at the light switch. Switches can fail; breakers don’t.
What you need
A replacement fixture, a non-contact voltage tester (a pen-shaped tool that beeps near live current, about $12 and worth owning permanently), a Phillips and flathead screwdriver, wire nuts (most fixtures include these), and a step ladder.
Step 1: Turn off power at the breaker
Find and flip the circuit for the room you’re working in. If breakers aren’t labeled, flip them until the light goes off, then flip one more to be safe if the room shares circuits. Confirm with the voltage tester near the existing wiring — it shouldn’t beep or light up. This step isn’t optional.
Step 2: Remove the old fixture
Most ceiling fixtures are held by two screws on a mounting bracket beneath the canopy — remove those and let the fixture hang by its wires. Test again with the voltage tester on each wire, then unscrew the wire nuts and separate the connections. Take a photo before disconnecting anything so you have a reference.
Step 3: Install the mounting bracket
Most replacement fixtures include a new bracket — screw it into the threaded holes on the ceiling box. Check that it’s rated for your fixture’s weight (most boxes support up to 35 pounds); anything heavier needs a fan-rated box, which is a structural change your landlord should handle.
Step 4: Connect the wires
Black to black, white to white, green or bare copper to green or bare copper. Twist each pair together clockwise, secure with a wire nut until snug, and tuck the connections up into the ceiling box.
Step 5: Mount the canopy and test
Raise the canopy to the ceiling and secure it to the bracket, install the bulbs specified for the fixture, then restore power at the breaker and test the switch. If it doesn’t work, check the bulbs first, then confirm the wire nuts are solid — loose nuts are the most common cause of a fixture that won’t light.
Mistakes to avoid
- Assuming the light switch off means the power is off. A switch controls one wire; the box may still be live. Always confirm with the voltage tester after cutting power at the breaker.
- Skipping the photo before disconnecting. It takes two seconds and removes all guesswork about how things were wired.
Kill the breaker, test with a voltage tester, remove the old fixture and photograph the wiring, connect black to black and white to white and ground to ground, mount the canopy, and test. That’s a complete swap — no electrician required.
Products mentioned in this post
Some links above are affiliate links. We may earn a commission at no extra cost to you.
Related Posts

How to Re-Caulk a Bathtub (Stop Water From Getting Into Your Walls)
Cracked caulk around your tub isn't cosmetic — it's a path for water to get behind your walls. Here's how to redo it properly in an afternoon.
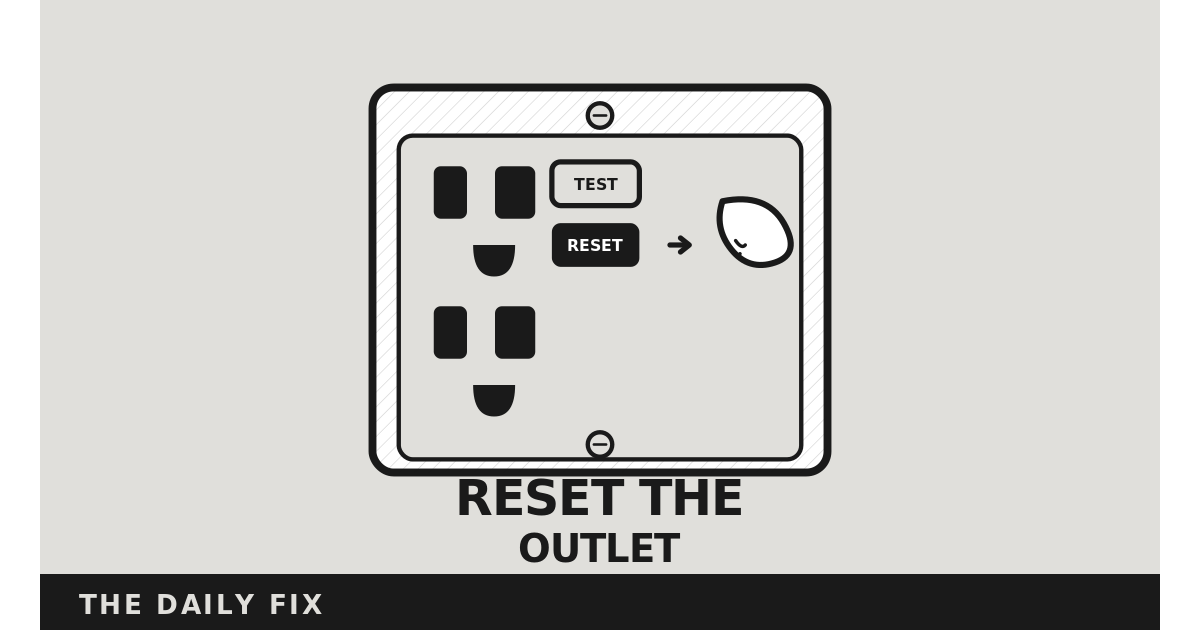
Outlet Not Working? It's Probably a GFCI — Here's the 10-Second Fix
If an outlet near water stopped working, it probably isn't broken — it tripped. Here's the fix, and why the tripped outlet might be in another room.
How to Patch a Hole in the Wall (Before You Lose Your Security Deposit)
Small nail holes and picture-hook gaps get deducted from your security deposit if you leave them. Here's how to patch them so they're invisible.